we are
Birmingham Assay Office
The global choice for assurance
We blend tradition with innovation, right in the heart of the the United Kingdom’s metal industry.
Our journey is steeped in history, driven by unwavering dedication, and an unrelenting pursuit of excellence.
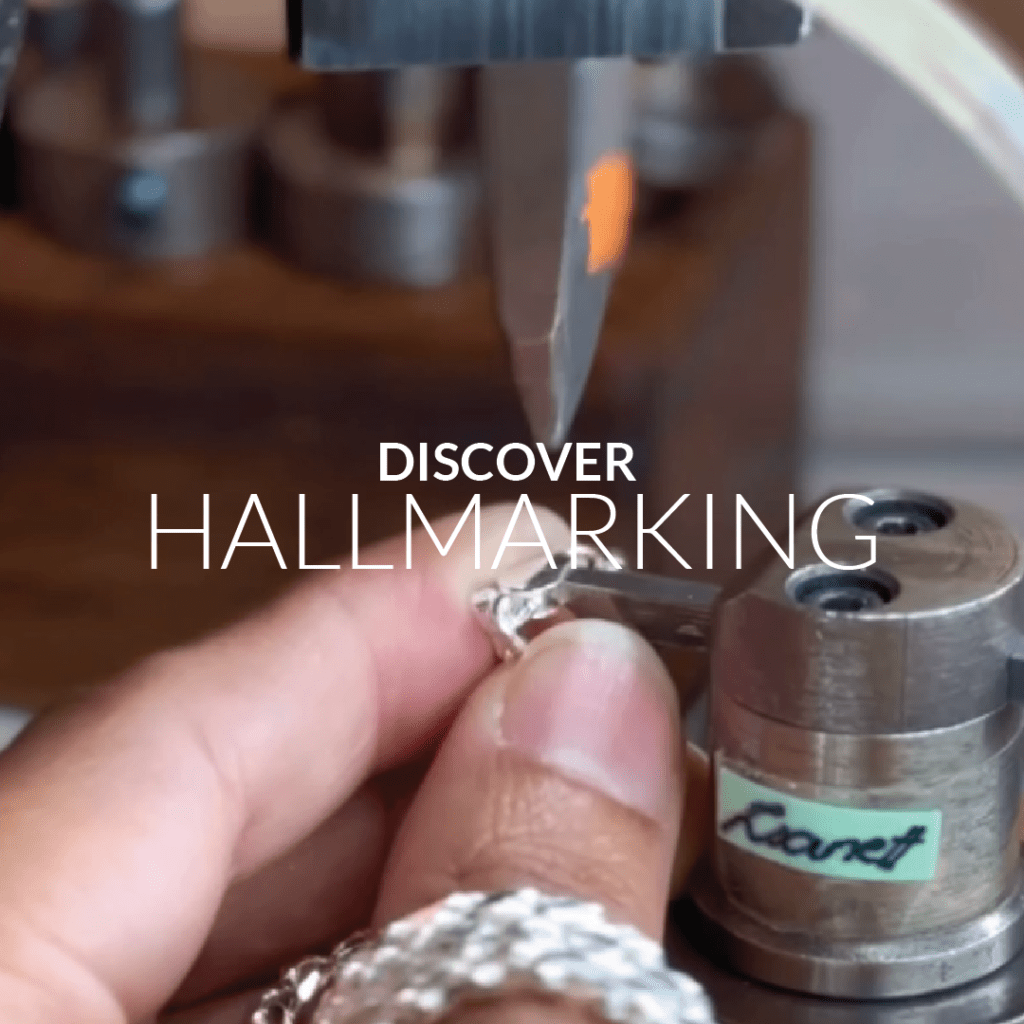
Beyond the scope of
hallmarking
At Birmingham Assay Office we persistently explore and extend the limits, never resting. Our journey started with hallmarking, but it didn’t end there. Over the years, we’ve evolved into a comprehensive service hub, meeting all your testing and certification needs.
We engage in collaboration and exploration, delving deep to comprehend technical complexities. We unearth solutions, alleviating the burden, boosting confidence, and ensuring consumer protection.
Testing with them enables us to complete meticulous due diligence testing on delivered stock, safeguarding our reputation and guarantees ACP jewellery for our valued customers. Birmingham Assay Office is a trusted partner in our commitment to customer satisfaction."

"We are delighted to have been a customer of Birmingham Assay Office for over a century, since before the First World War.
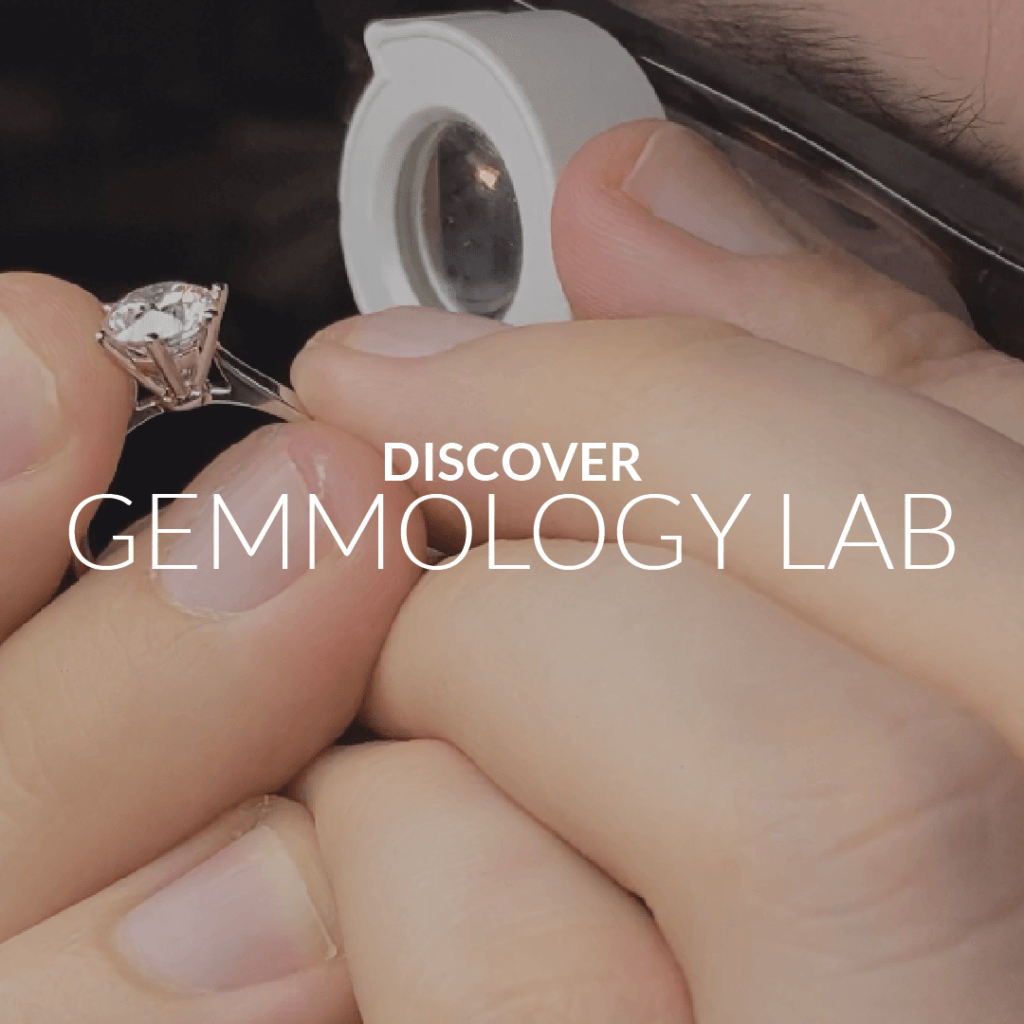
Until the end of the twentieth century this meant hallmarking, but we now use a much wider range of services from diamond certification to appraisals and testing services."

they are responsive to our business requirements and support our new product development through their testing program which ensures compliance across multiple territories and helps to inform best practice within the industry.

The Birmingham Assay Office team provide excellent customer service and are a joy to partner.

They are efficient, helpful, and always friendly. Their customer-first approach has in turn enabled us to reliably help our customers sell. A great organisation you can rely on!

Everything we do,
we do together
Our dedicated team forms the heart and soul of our organisation. Their passion, expertise, and commitment drive our success, upholding our heritage and ensuring top-quality service. We’re more than a workforce; we’re a family, uniting innovation, tradition, and integrity to maintain our reputation as a trusted hallmark of quality in Birmingham’s historic Jewellery Quarter.
